Maintaining your vehicle is crucial for its longevity and performance, and one of the most fundamental aspects of vehicle maintenance is the oil change.
However, many car owners often wonder, "How long do oil changes take?" This guide will explore this question in detail, providing you with valuable insights into the oil change process.
TYPICAL TIME FRAME FOR OIL CHANGES
On average, a professional oil change takes 15 to 45 minutes. Quick-lube shops are designed to get you in and out swiftly, often completing the job in under 30 minutes.
Full-service garages might take longer but offer a more thorough inspection. Meanwhile, DIY oil changes can range from 30 minutes to an hour, depending on your skill level and preparation.
WHY ARE REGULAR OIL CHANGES CRUCIAL?
Engine oil plays a vital role in keeping your car running smoothly. It lubricates the engine's moving parts, reducing friction and preventing wear and tear.
Without regular oil changes, the oil can become contaminated with dirt and debris, eventually leading to engine damage and decreased fuel efficiency. Thus, regular oil maintenance is not just a recommendation – it's a necessity for any vehicle owner.
OIL CHANGE PROCESS BREAKDOWN
Understanding what goes into an oil change can demystify the process:
- Prep the Vehicle: The car is lifted or driven onto ramps to access the oil pan.
- Drain the Old Oil: Remove the drain plug and let the old oil flow out into a pan.
- Replace the Oil Filter: The old oil filter is unscrewed and replaced with a new one.
- Add New Oil: Fresh oil is poured into the engine through the oil fill cap.
- Check for Leaks: The mechanic ensures there are no leaks and the oil level is correct.
STEP-BY-STEP GUIDE: HOW TO CHANGE YOUR OIL
Changing your car’s oil yourself can be a cost-effective way to maintain your vehicle. Follow this step-by-step guide to ensure a smooth and efficient oil change process.
1. Gather Tools & Materials
Before you start, ensure you have the following items:
- Car jack and jack stands or ramps
- Oil drain pan
- Socket wrench set
- Oil filter wrench
- New oil filter
- New engine oil (refer to your owner’s manual for the type and amount)
- Funnel
- Rubber gloves
- Clean rags or paper towels
2. Prepare Your Vehicle
- Park Safely: Ensure your car is parked on a flat, stable surface. Engage the parking brake to prevent any movement.
- Lift the Vehicle: Use a car jack to lift the front of your vehicle and secure it with jack stands, or drive onto ramps for better access to the undercarriage.
- Warm Up the Engine: Start your car and let it run for a few minutes. Warm oil drains more easily than cold oil. Turn off the engine before proceeding.
3. Drain the Old Oil
- Locate the Oil Pan: Find the oil pan underneath your car. It’s typically a flat metal pan located near the engine.
- Position the Drain Pan: Place the oil drain pan under the oil pan’s drain plug.
- Remove the Drain Plug: Use a socket wrench to carefully remove the drain plug, allowing the old oil to flow into the drain pan. Be cautious as the oil may be hot.
- Let It Drain: Allow all the old oil to drain out completely. This may take a few minutes.
4. Replace the Oil Filter
- Remove the Oil Filter: Carefully unscrew the old oil filter. Some oil may spill, so be prepared with your drain pan and rags.
- Prepare the New Filter: Before installing the new oil filter, apply a small amount of fresh oil to the rubber gasket on the top of the filter. This helps create a good seal.
- Install the New Filter: Screw the new filter into place by hand. Tighten it firmly but avoid over-tightening.
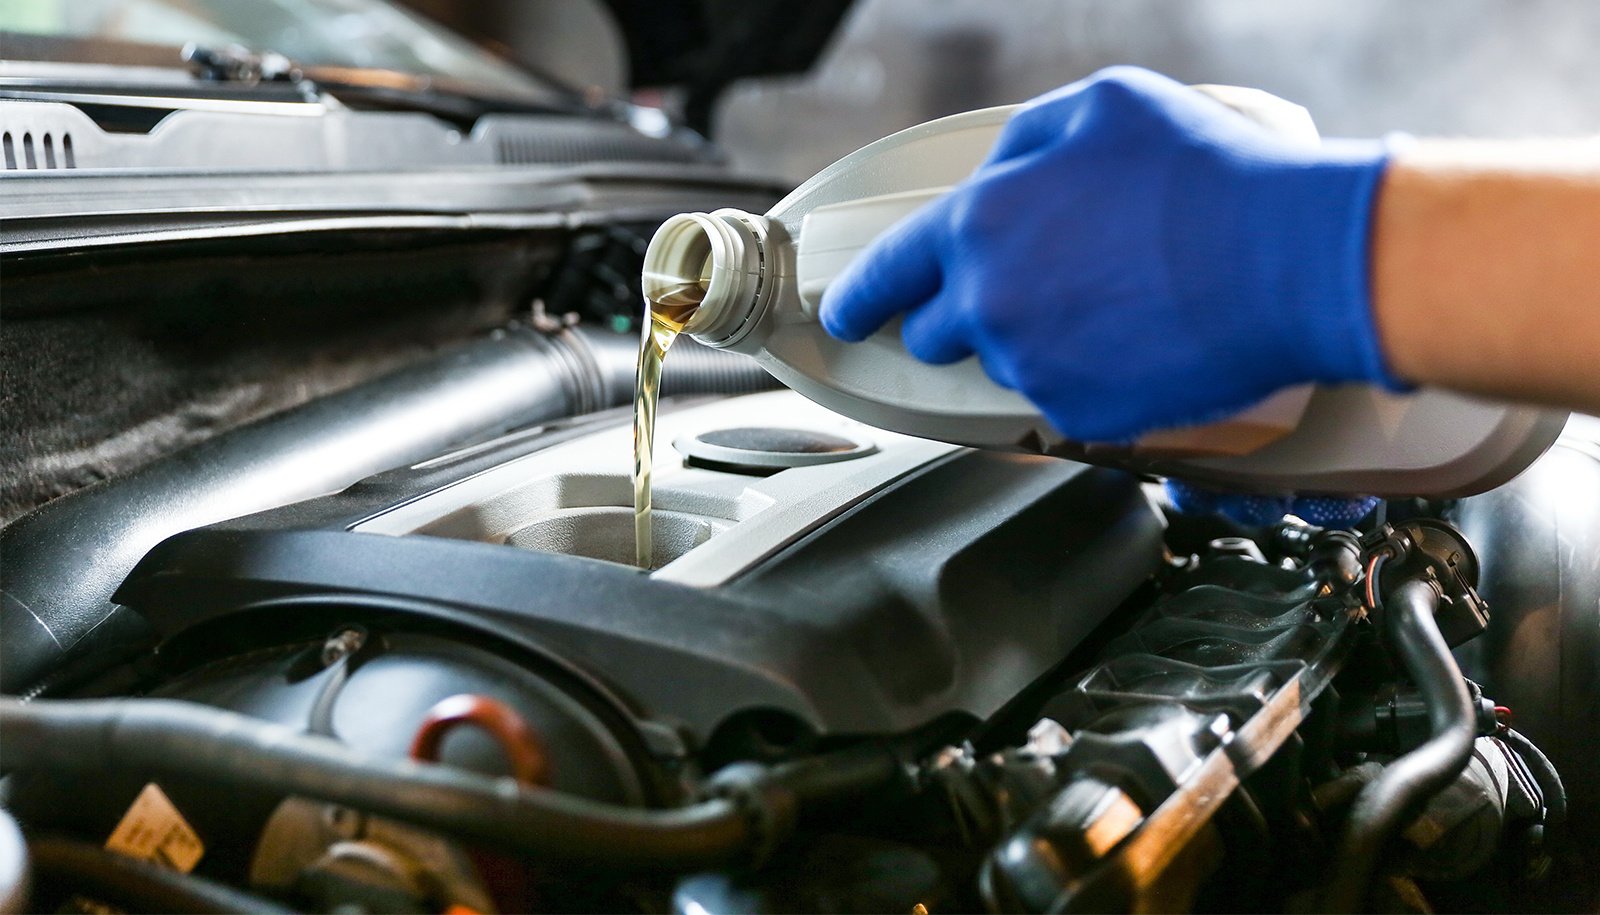
5. Add New Oil
- Replace the Drain Plug: Once the old oil has drained completely, clean the drain plug and screw it back into the oil pan securely.
- Add New Oil: Locate the oil fill cap on the top of your engine. Remove the cap and place a funnel in the opening. Pour the new oil into the engine as specified in your owner’s manual.
- Check the Oil Level: After adding the oil, use the dipstick to check the oil level. Make sure it’s within the recommended range.
6. Final Checks
- Inspect for Leaks: Check around the drain plug and oil filter for any signs of leaks.
- Dispose of Old Oil Properly: Transfer the old oil from the drain pan to a sealed container. Take it to a recycling center or auto shop that accepts used oil.
- Lower Your Vehicle: Carefully remove the jack stands or drive off the ramps and lower your car back to the ground.
7. Run the Engine
- Start the Engine: Turn on your car and let it run for a few minutes. Check the area under the car for any leaks again.
- Recheck Oil Level: After turning off the engine, wait a few minutes and recheck the oil level with the dipstick. Add more oil if necessary.
OIL CHANGES & CAR INSURANCE
Regular oil changes don't just benefit your car; they can also impact your car insurance:
- Potential Discounts: Some insurance companies offer discounts for maintaining your vehicle properly.
- Maintenance Records: Having detailed records can be beneficial when filing insurance claims, as they demonstrate diligent upkeep.
- Neglecting Oil Changes: If poor maintenance leads to mechanical failure, it could complicate insurance claims and potentially affect your coverage.
Regular oil changes are essential for the health and efficiency of your vehicle. Knowing how long an oil change takes and what factors affect this duration can help you plan better and ensure your car remains in optimal condition.
If you need help finding the best car insurance coverage for the best price, speak to a SimplyIOA agent at 833.872.4467 or get an auto insurance quote online now.